
Jewelry shopping can be intimidating. That’s why we started Ask Holden, our blog where we answer your FAQs, break down scary industry lingo, and guide you in finding the perfect piece of jewelry.
Recently invested in a pair of high-quality earrings? Nice! Now, let's keep them sparkling like the day you got them. Though professional cleanings are advisable every so often, learning how to clean diamond earrings at home in between will save you a nice chunk of change.
Regularly cleaning precious metal and gemstone, like diamond earrings, isn't just about keeping them shiny and beautiful—it's also about keeping your ears happy and infection-free. Keep reading to learn everything you need to know about DIY cleaning, from how often you should do it to how to disinfect earrings.
Why Do You Need to Clean Your Earrings?
Well, why do you need to wash your hands? It’s a simple fact of life that our bodies love to collect icky stuff like dirt, grime, and bacteria over time, eventually leading to infection if we don’t take care to keep clean.
Ears are no exception to this rule—speaking of which, when was the last time you scrubbed behind your lobes? Don’t overlook the nooks and crannies of your ears the next time you hit the shower.
Hair products, moisturizers, makeup, and dead skin can accumulate pretty quickly on our ears and the jewelry we adorn them with. If you find yourself touching your ears or earrings often, this can speed up the process even more.
Taking time to clean your diamond earrings also helps them stay sparkly. No one shills out the big bucks to wear cloudy, lackluster diamonds, so it’s worth the extra effort to give them some TLC!
Taking time to clean your diamond earrings also helps them stay sparkly.
How Often Should You Clean Your Earrings?
If it’s been a while since you first got your ears pierced, you might need a little refresher on the basics of ear hygiene.
If you wear your earrings every day, dermatologists tend to recommend that you clean them once a week. Our unofficial recommendation? You can probably get away with biweekly or monthly at-home cleanings depending on your comfort level.
Only wear your earrings on special occasions? Try to clean them twice per year and make sure you’re storing them carefully between wears! Wrapping each earring in its own soft cloth or jewelry pouch will help prevent them from scratching one another.
Don’t forget that cleaning your piercings regularly with saline solution and a cotton pad to remove bacteria is just as important, especially if your piercings are fresh. Saline can be used to clean earrings too, but we don’t recommend it! Salt is abrasive to metals like silver and gold, so you’re better off using a gentler cleaning method.
Earrings due for a deep clean? If you purchased them from us, simply reach out to help@hiholden.com to get the cleaning and repolishing process started. Local jewelers can also perform these services, usually for a small fee.
If you want to keep your earrings clean for longer, be careful when applying your skincare and hair products. Try to get in the habit of putting your earrings on as a last step before you’re out the door!
I Don’t Know How to Clean Diamond Earrings! Can You Help?
Absolutely! Learning how to clean diamond earrings at home isn’t all that different from learning how to clean your rings.
If you happen to have an at-home ultrasonic jewelry cleaner, you can give it a try, but proceed with caution. When professionals use ultrasonics, they always conduct inspections under magnification first to prevent any potential damage.
We recommend a safer, manual cleaning method that’s super quick and easy. Here’s our preferred process broken down into five simple steps:
Step #1: Inspect & Prep
Safety first! Before you get started, make sure to prep your work area. If you’re cleaning your earrings by the sink, now’s the time to make sure it’s plugged. The last thing you’d want is to lose a diamond down the drain!
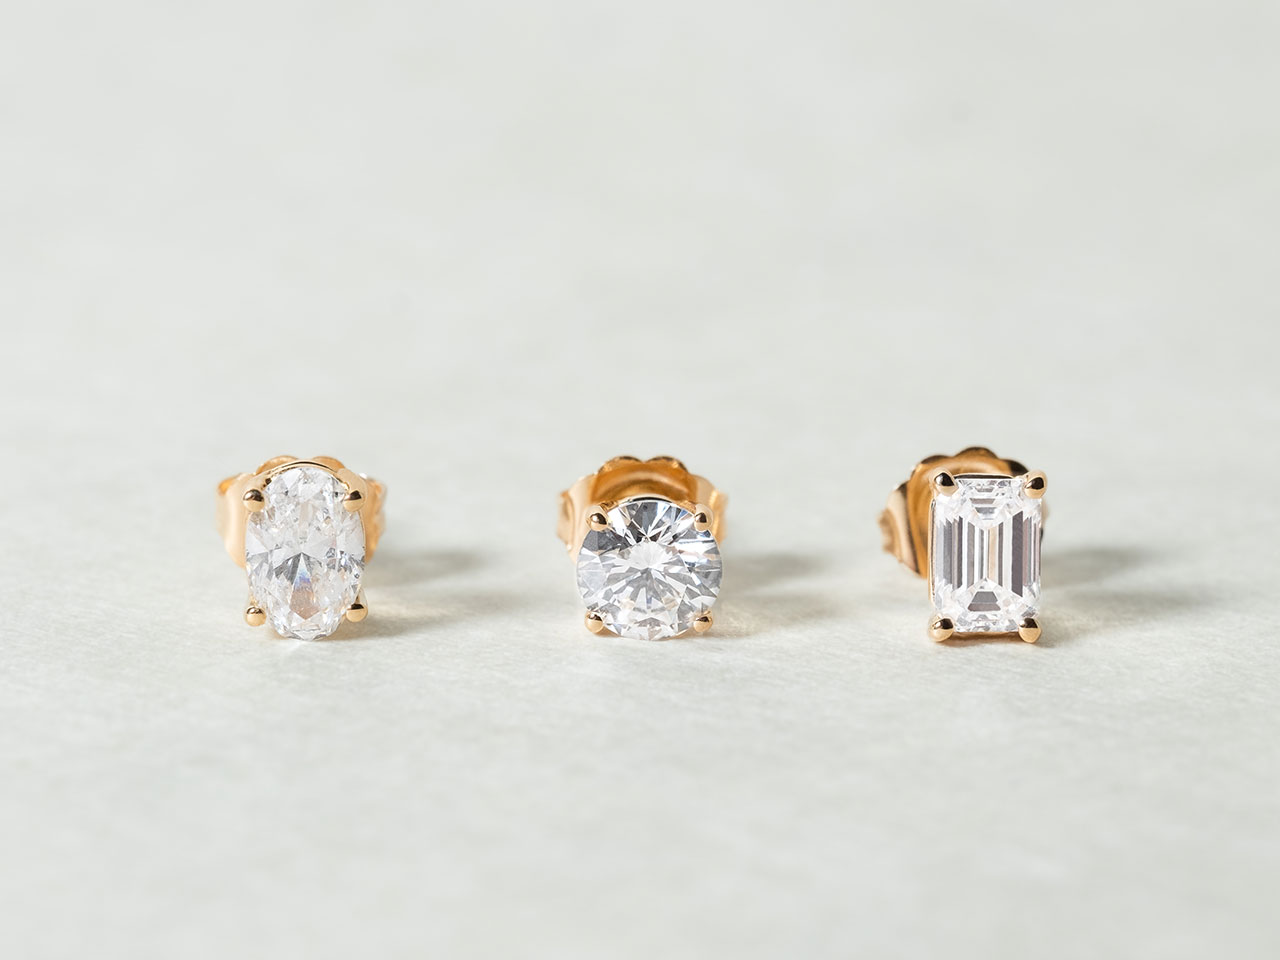
If your earrings have diamonds or gemstones, you’ll want to inspect them closely and ensure none of the settings are loose. Be extra careful with small pavé stones, since their delicate settings are more prone to wearing down over time.
Notice a loose setting? Stop right there and reach out to your jeweler! It’s better to be safe than sorry and have a pro take a look before proceeding with an at-home cleaning.
Be extra careful with small pavé stones due to their delicate settings.
Step #2: Prepare Your Solution
For this step, you’ll just need a few household items: a bowl, some unscented dish soap, and a soft (preferably children’s) toothbrush.
Some may recommend using baking soda, white vinegar, ammonia, hydrogen peroxide, or rubbing alcohol, but we advise against it for precious metals like solid gold and sterling silver. Undiluted cleaners like these can be harsh and lead to discoloration, tarnishing, or breakage.
Dish soap, on the other hand, is safe enough for cleaning jewelry! Avoid any soaps with fragrances or moisturizers, since the chemicals in them can also be damaging. You just need to squirt a few drops (trust us, less is more!) into your bowl filled with warm water.
Step #3: Let Them Soak
Once your solution is ready, dunk your pieces in the bath. You’ll want to leave them soaking for about 15-20 minutes. This is a gentle and safe way to wash diamond earrings without damaging them.
Be diligent about checking the water temperature if you’re cleaning earrings with softer gemstones like pearls. Exposing them to too cold or too hot water can permanently damage them!
Harder gemstones like diamonds, sapphires, and emeralds are less temperamental, so it’s not as big of a deal if the water is warmer or cooler.
Step #4: Scrub-a-dub-dub
When time is up, grab your toothbrush: this is how to sanitize earrings.
Remove the earrings from the solution, then very gently scrub them with small, circular motions around any gemstone or diamond settings to loosen stubborn dirt and grime. Don’t forget to get the underside of the setting if it’s exposed!
You’ll want to give the earring posts and backs—or any part that touches your ears—a nice, gentle scrub as well.
Pay attention to what you’re doing here, since this is when you’re most at risk of loosening and/or losing a stone. If that thought makes you nervous, skip this step! You can save a more thorough cleaning for your next visit to the jeweler.
Step #5: Rinse & Dry Carefully
Don’t skip the final rinse and dry—it’s a crucial part of cleaning diamond earrings properly. You’ll want to make sure that you rinse the earrings and dry them completely.
Try to get every last bit of soapy solution off your earrings, especially if they have diamonds or gemstones. Soap residue will make them look duller and dirtier than when you started!
Once your earrings are fully rinsed, gently wipe them dry with a clean cloth, preferably of the microfiber variety. Paper towels and tougher fabrics are no-nos since these can cause scratches on precious metals.
Be extra diligent with wiping sterling silver dry, since exposure to humidity can speed up the tarnishing process. You’ll also want to leave your earrings out to air dry to make sure they’re 100% free of moisture before placing them back in storage or on your ears.
Questions? Give us a shout at help@hiholden.com or a ring (pun intended) at 646.722.6817.
FAQs
1. How do I clean a diamond earrings safely at home?
The best way to clean a diamond earrings at home is with warm water, a drop of unscented dish soap, and a soft toothbrush. Let the earrings soak for 15–20 minutes, gently scrub the settings, rinse thoroughly, and pat dry with a microfiber cloth. Avoid harsh chemicals like vinegar or baking soda, which can damage precious metals.
2. How often should I clean diamond earrings?
For daily wear, most dermatologists recommend cleaning diamond earrings once a week to prevent buildup and irritation. If you wear your earrings occasionally, a gentle cleaning every few months should suffice. Always store earrings in a soft pouch to avoid scratching between wears.
3. What’s the safest method for how to clean diamond earrings at home?
To clean diamond earrings at home, follow these simple steps:
- Inspect for loose settings.
- Mix warm water with a drop of mild dish soap.
- Soak earrings for 15–20 minutes.
- Gently brush with a soft toothbrush.
- Rinse and dry with a microfiber cloth.
Avoid cleaners like ammonia or alcohol, which can dull diamonds or harm metals like gold and silver.
4. How to wash diamond earrings without damaging them?
If you're wondering how to wash diamond earrings gently, the answer is simple: stick to warm, soapy water and a soft cloth. Stay away from ultrasonic cleaners unless advised by a professional, and never use paper towels to dry your jewelry as they can scratch the surface.
5. Can I use an ultrasonic cleaner for cleaning diamond earrings?
While ultrasonic cleaners can be effective, they should only be used if your earrings are recently inspected and free of loose stones. Small pavé settings are especially at risk. When in doubt, stick to manual cleaning or take them to a jeweler for a professional service.
6. Can I disinfect my earrings while cleaning them?
Yes. Gently scrubbing earring posts and backs with warm soapy water will help remove bacteria. Avoid using alcohol or hydrogen peroxide as they can be too harsh for metals and gemstones. For piercings, clean the skin area with saline—but don’t use it on the jewelry itself.
7. How do I keep diamond earrings sparkling longer?
Clean them regularly, avoid touching the stones with your fingers, and put your earrings on last—after hair and skincare products. Store them in a dry place in a soft pouch to prevent scratches and exposure to humidity.
8. What if my diamond earrings have lost their sparkle even after cleaning?
Dullness can be caused by soap buildup, hard water deposits, or wear over time. If at-home cleaning doesn’t help, you may need a professional cleaning and repolishing. If your earrings are from Holden, contact us at help@hiholden.com to get started.
About Holden
At Holden, we design engagement rings and wedding rings that honor your individuality. Each piece is thoughtfully created to reflect your story, your values, and your style. Whether you fall for a refined Center Stone Solitaire, a soft Curved Band, or a show-stopping Multi-Stone ring, we’re here to help you find your perfect match.